home
about
photos
blog
microblog
search
contact
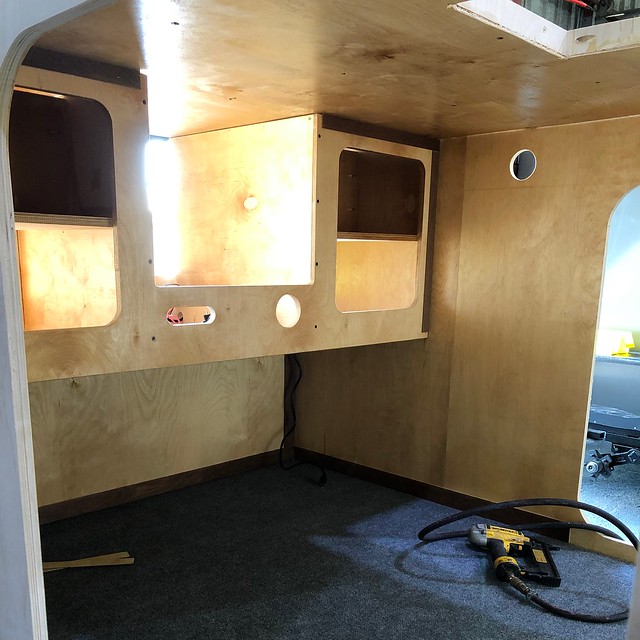
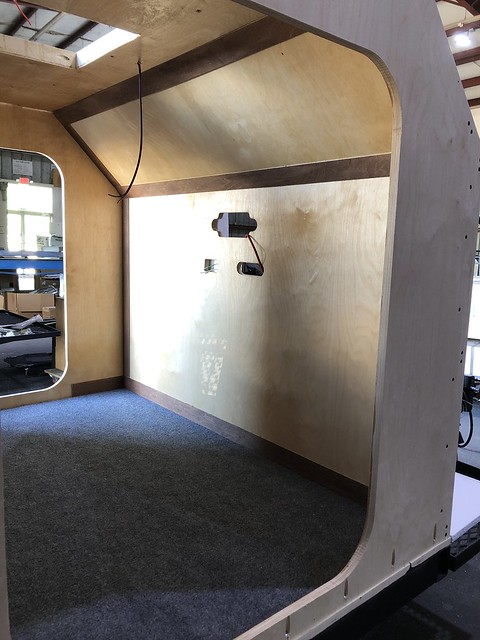
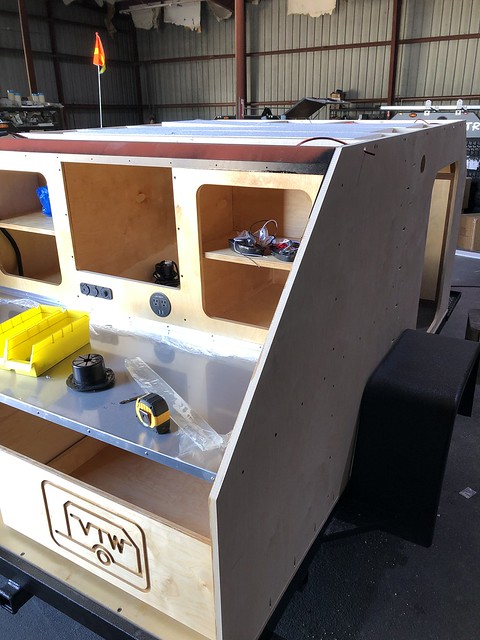
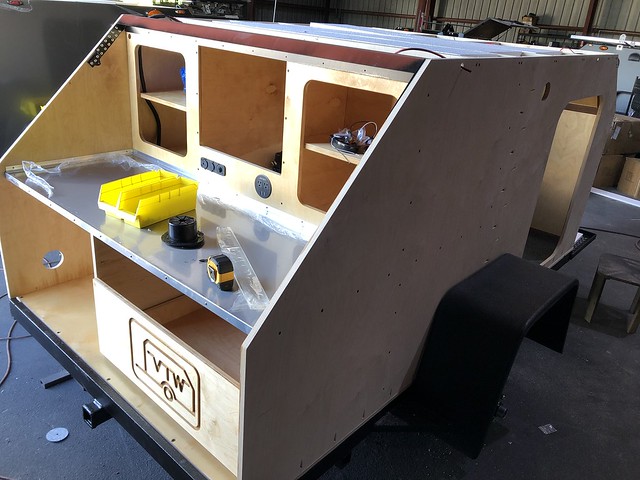
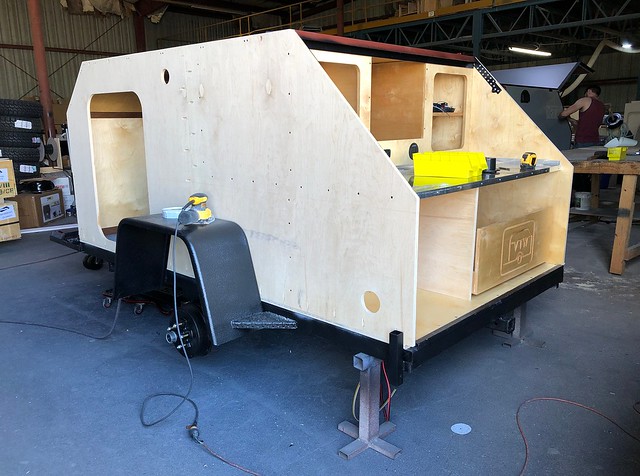
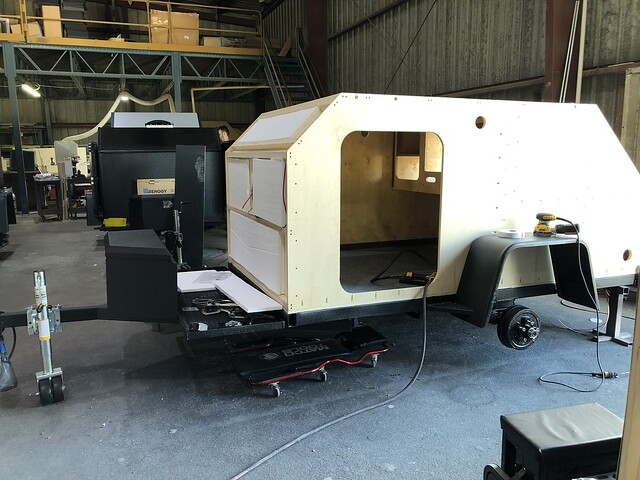
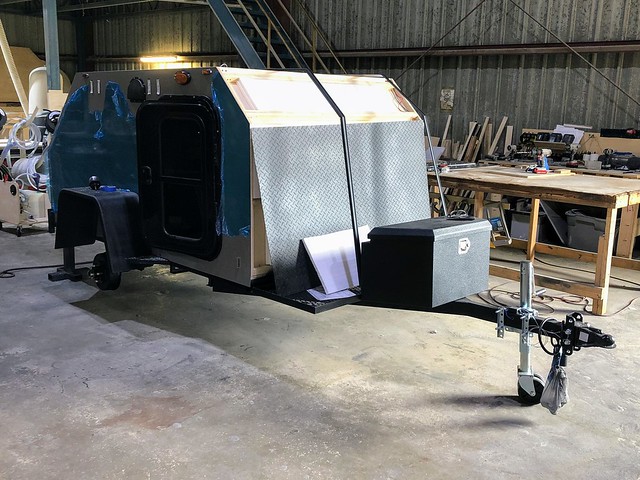
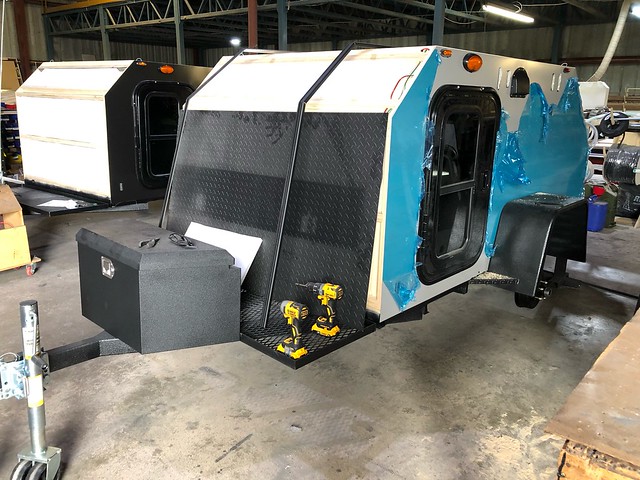
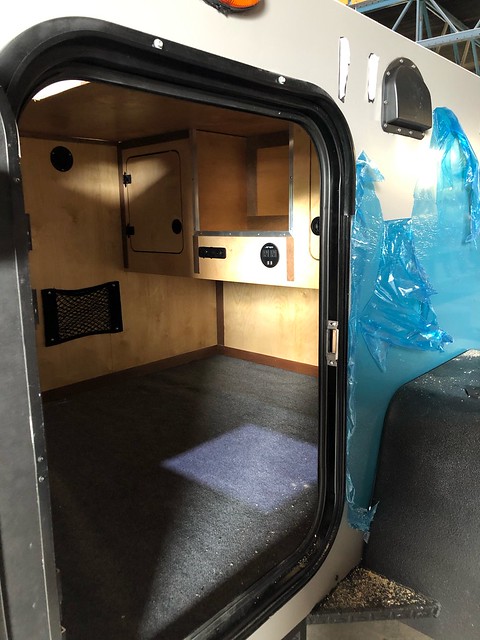
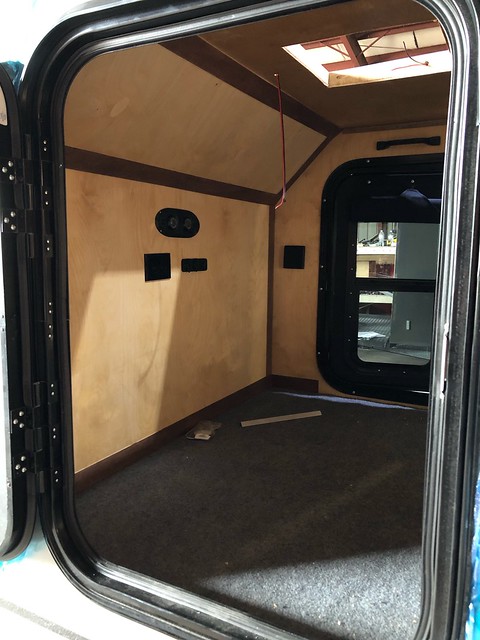
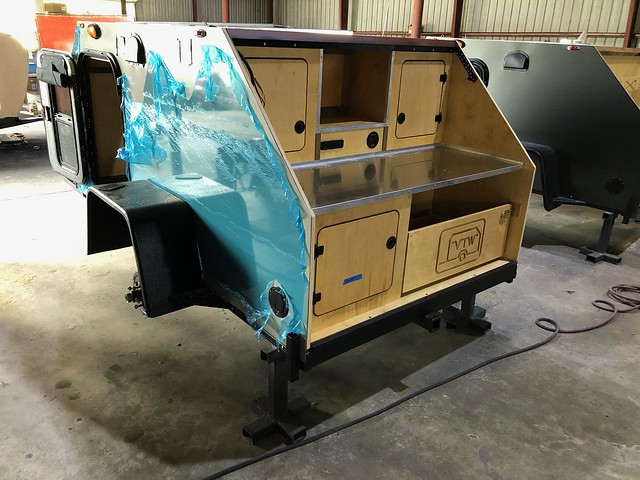
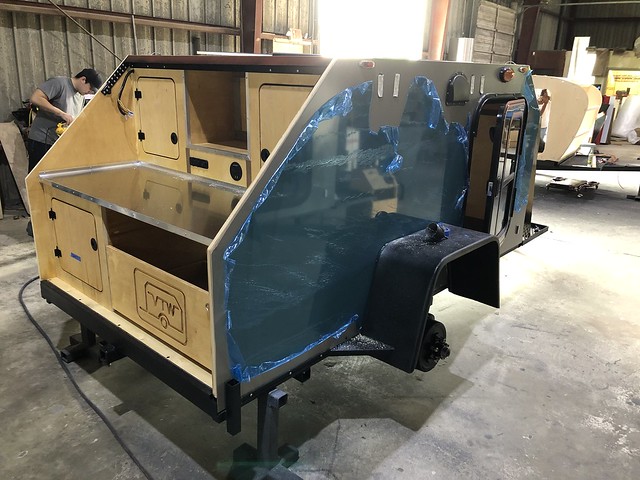
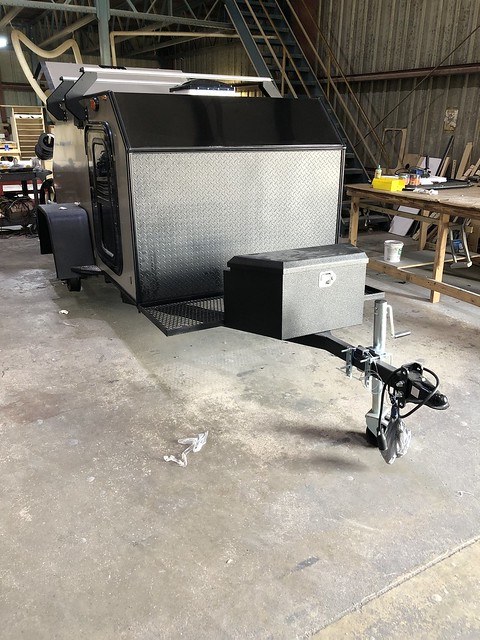
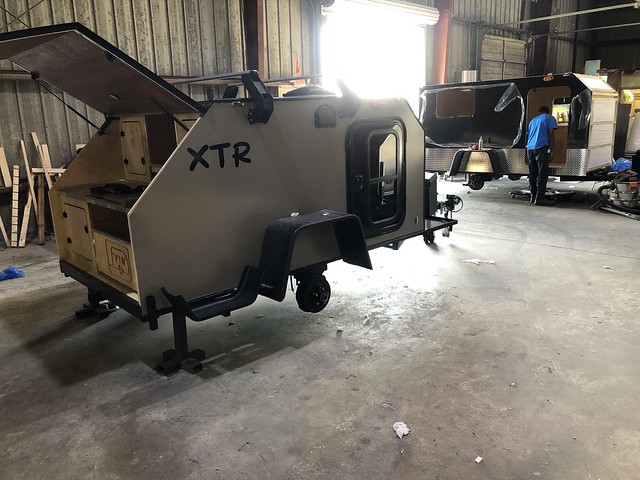
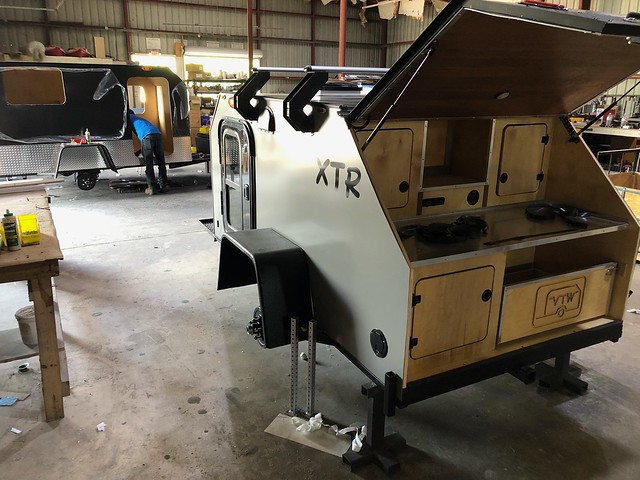
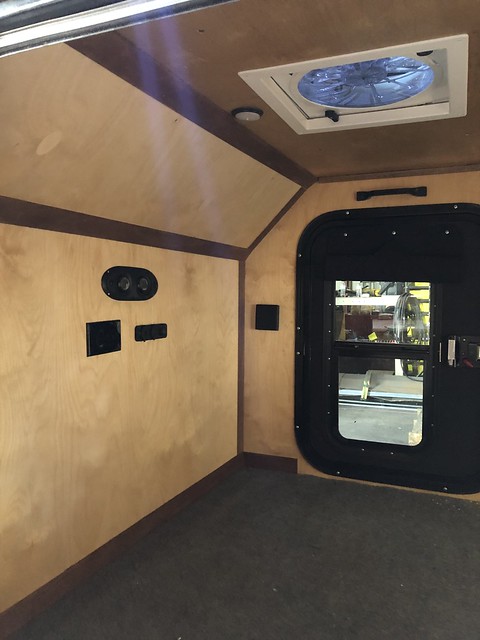
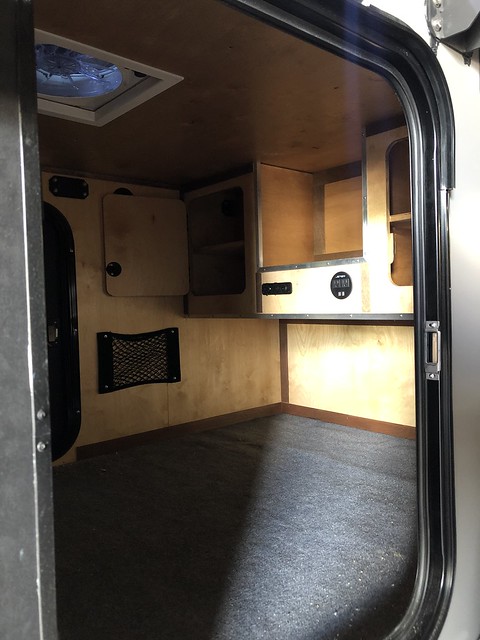
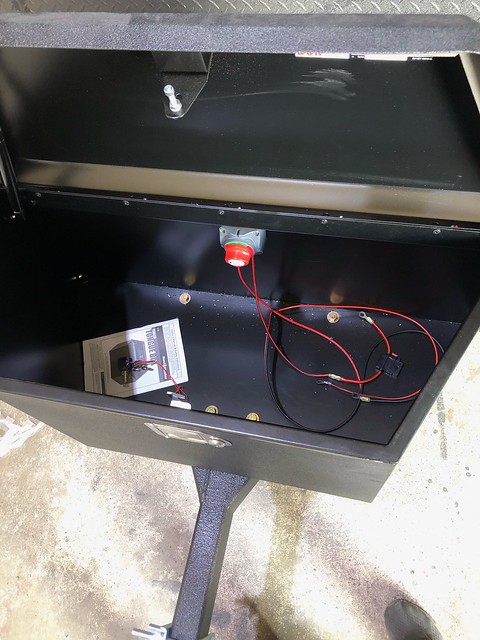
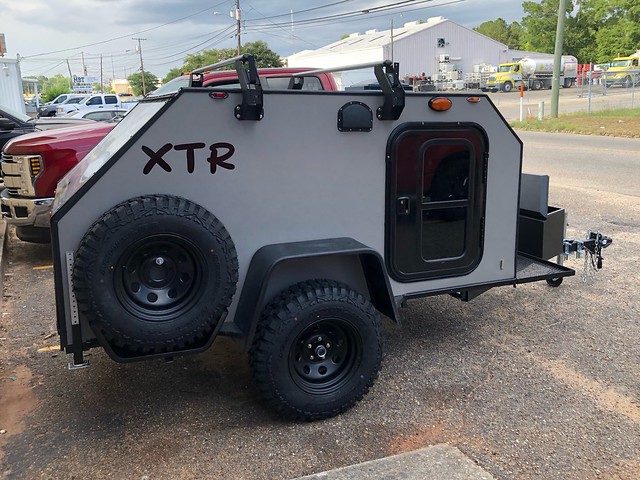
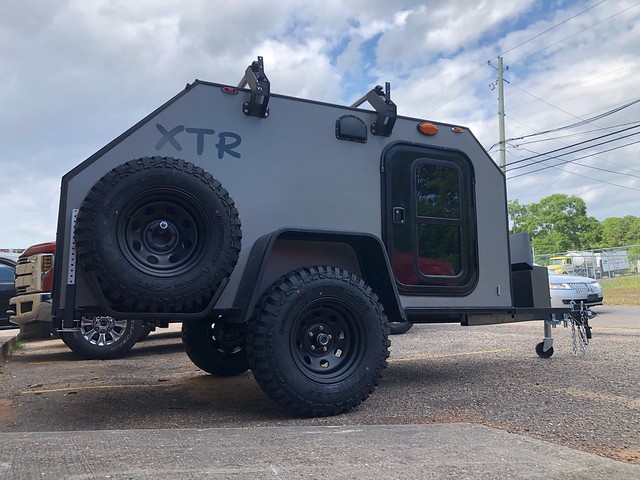
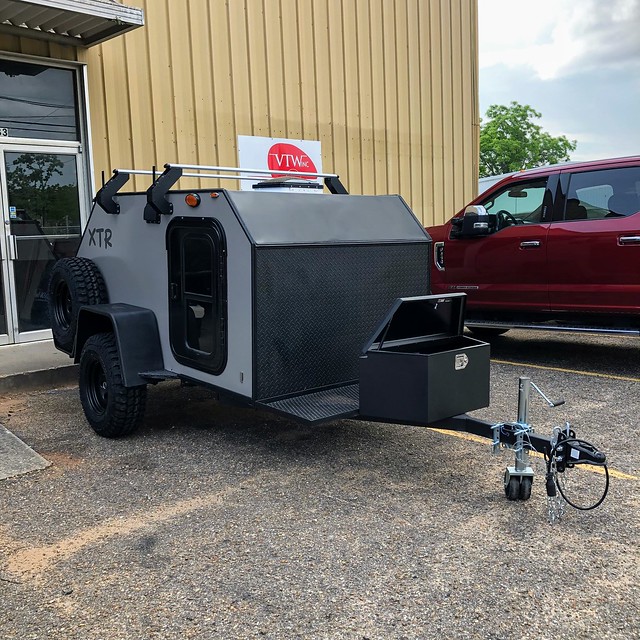
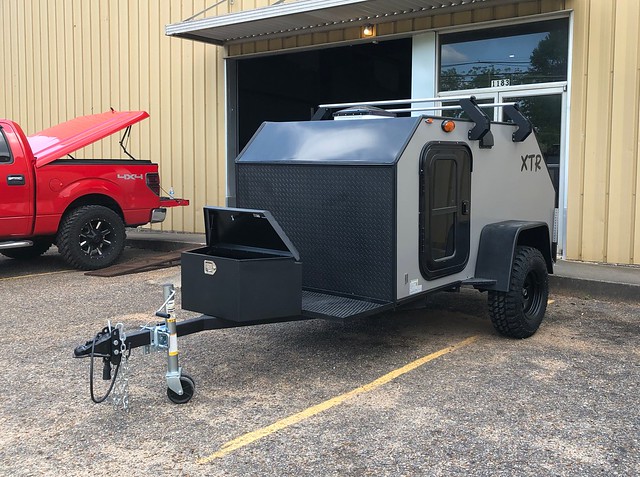
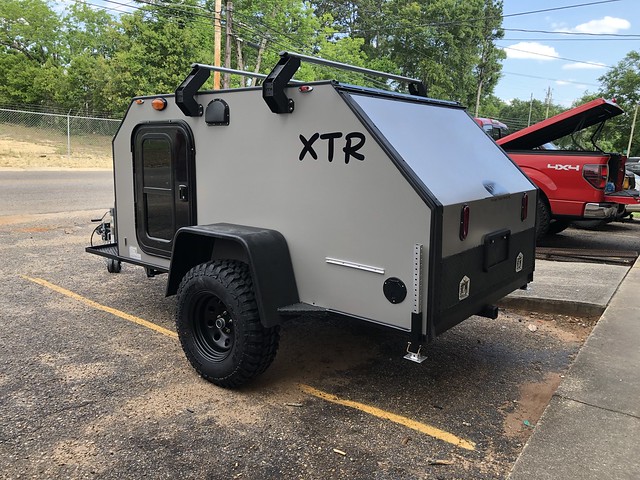
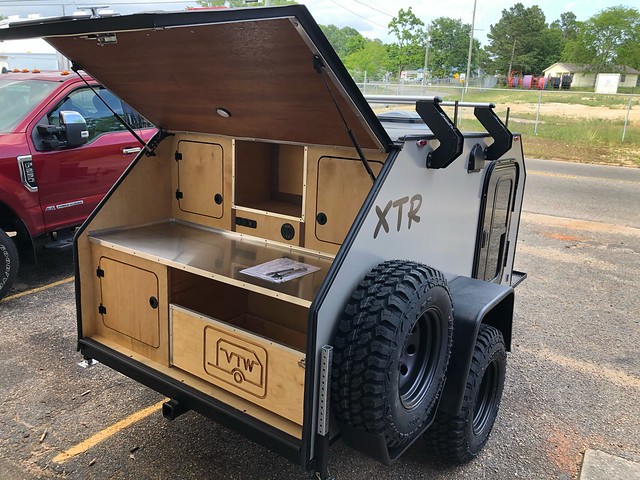
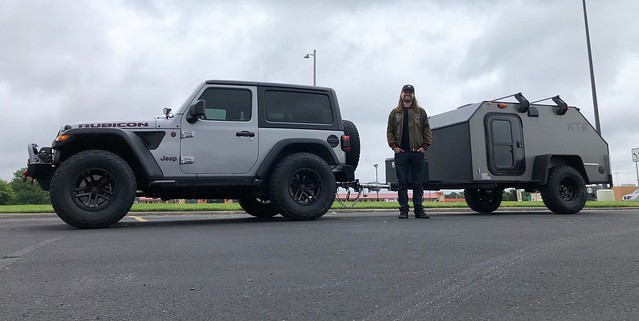
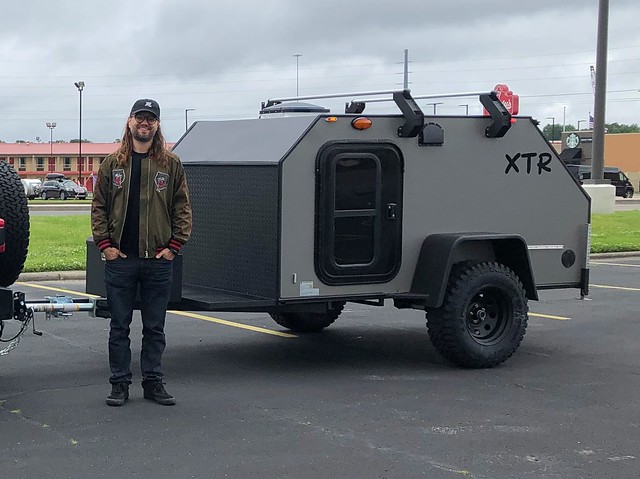
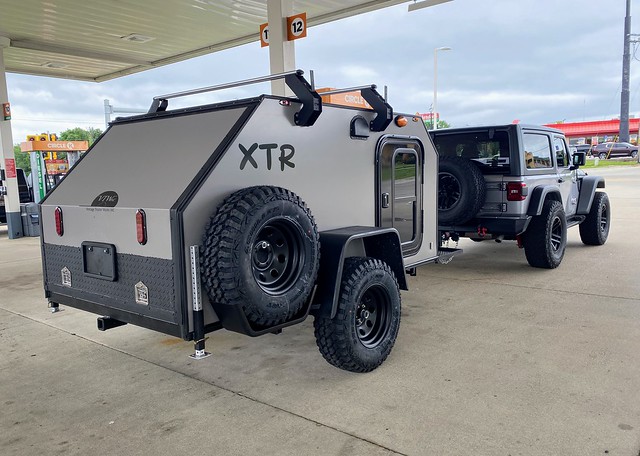
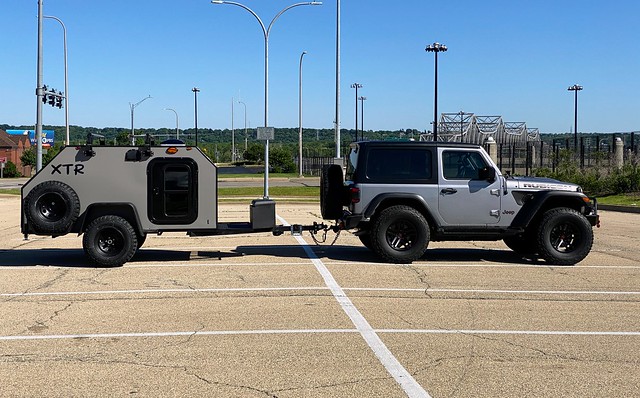
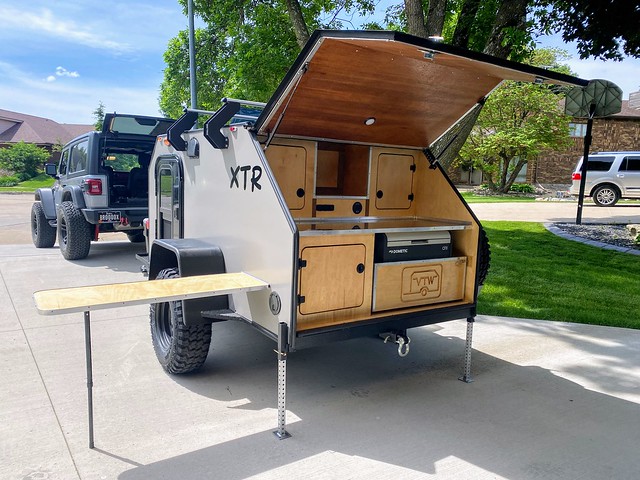
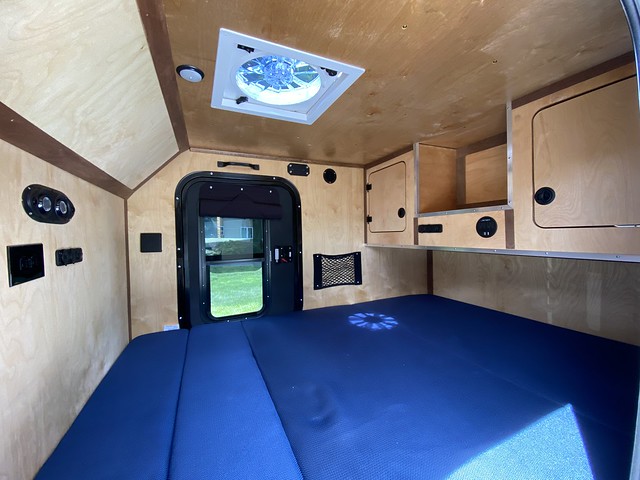
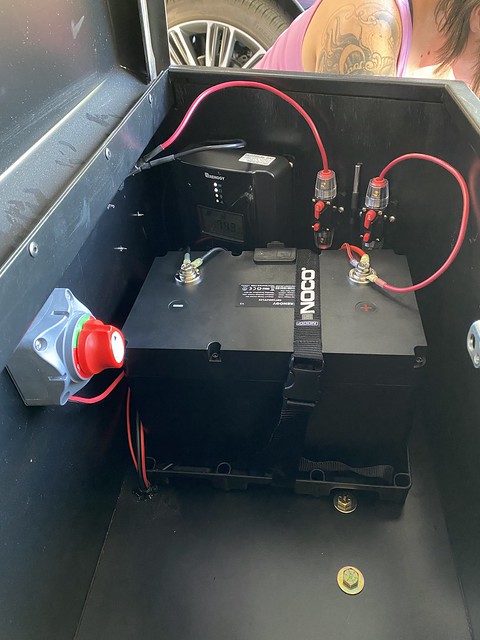
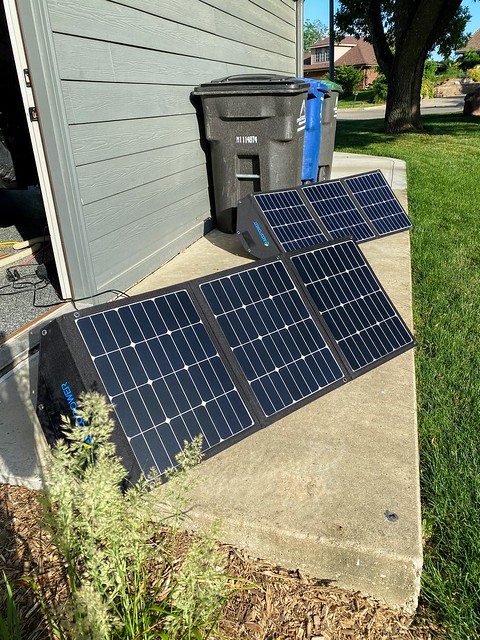
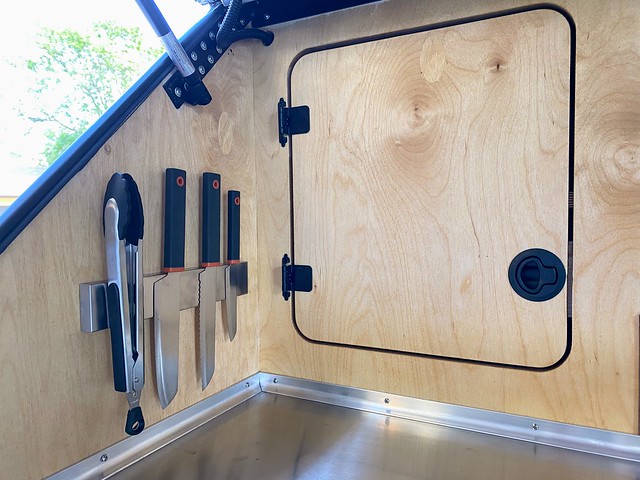
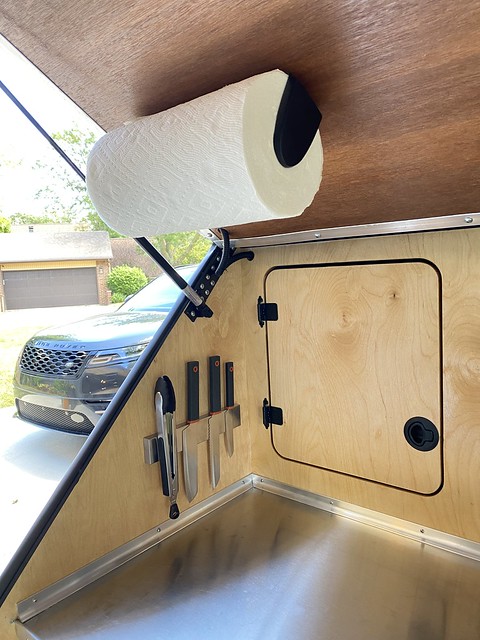
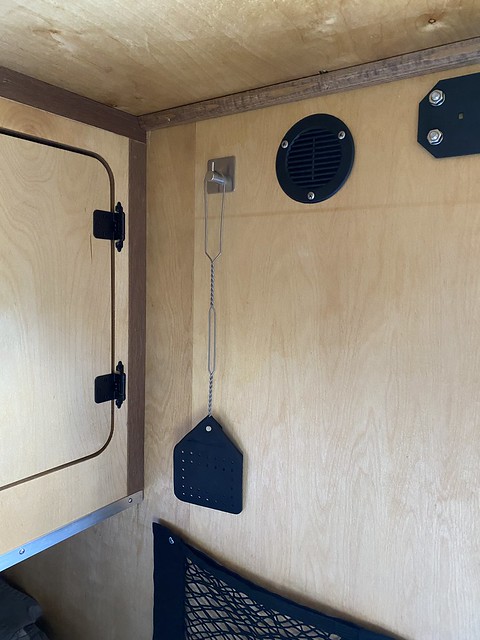
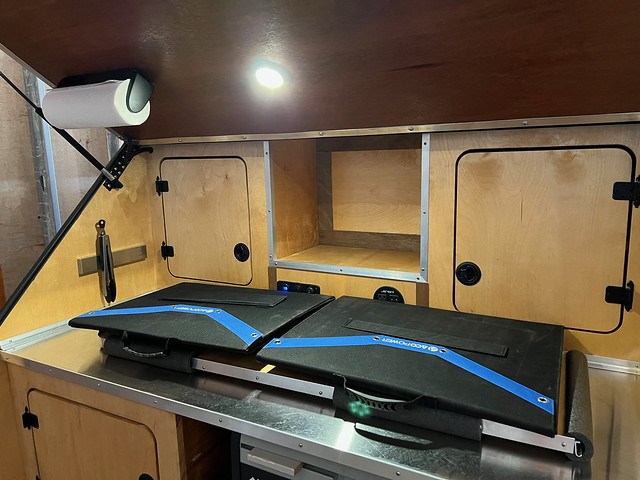
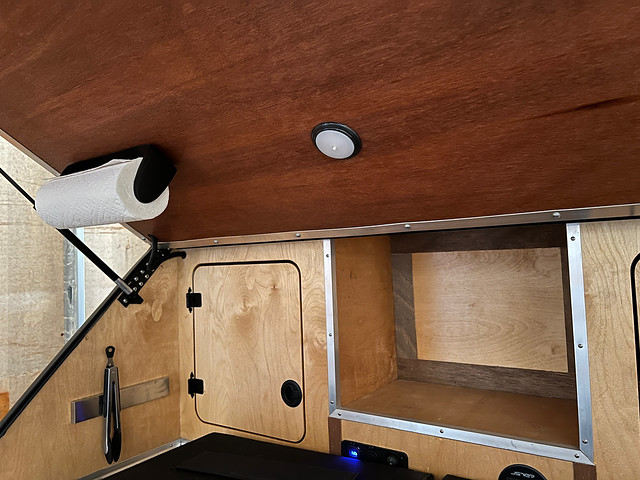
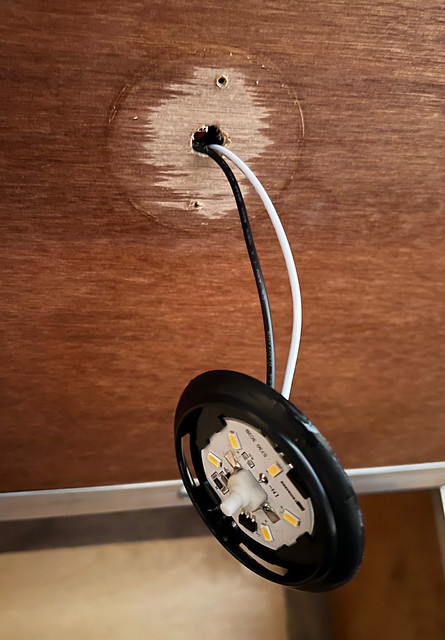
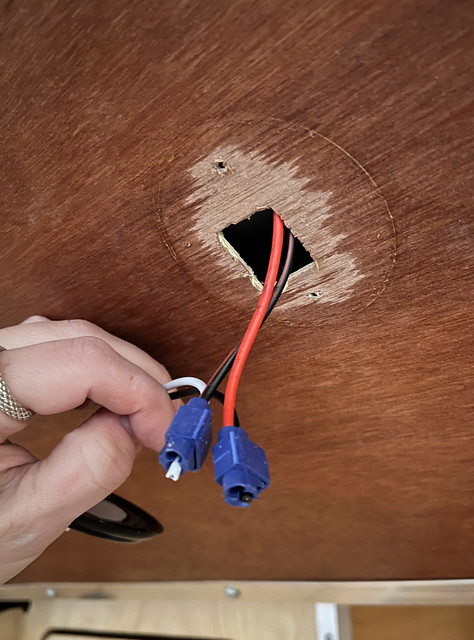
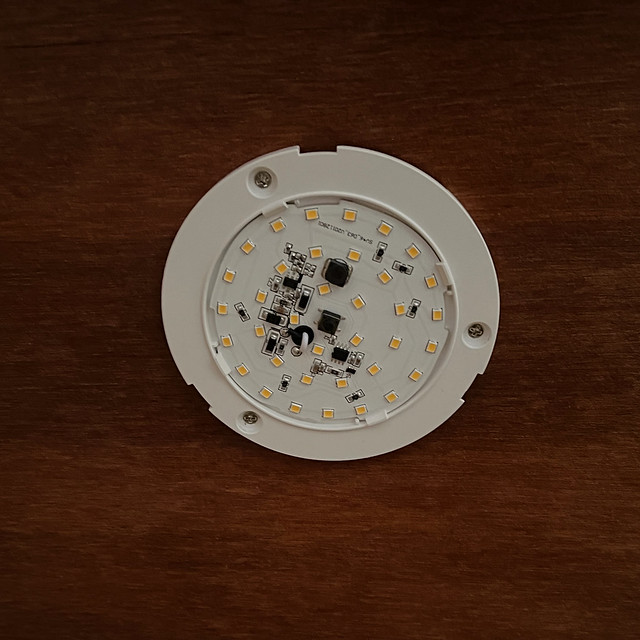
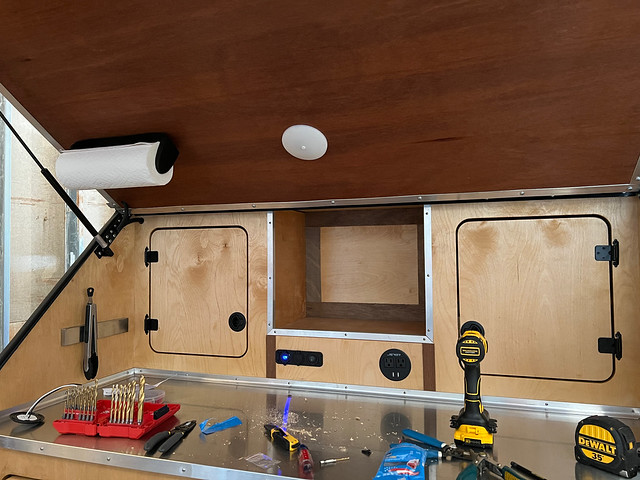
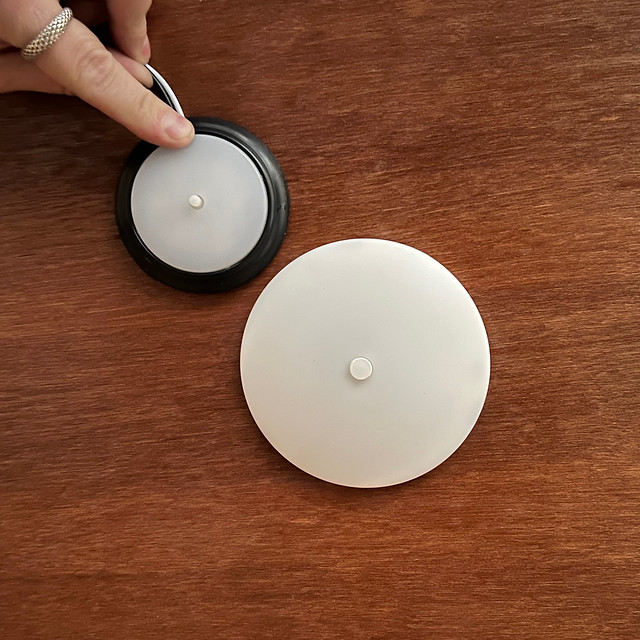
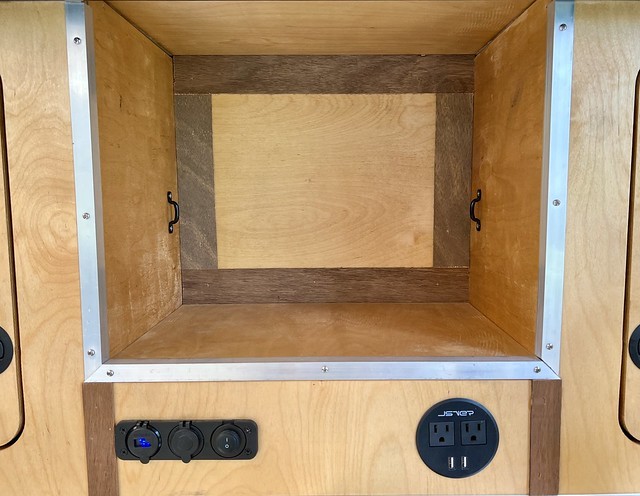
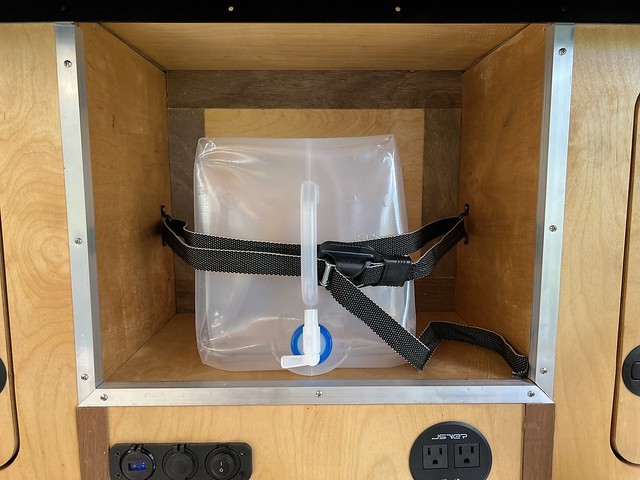
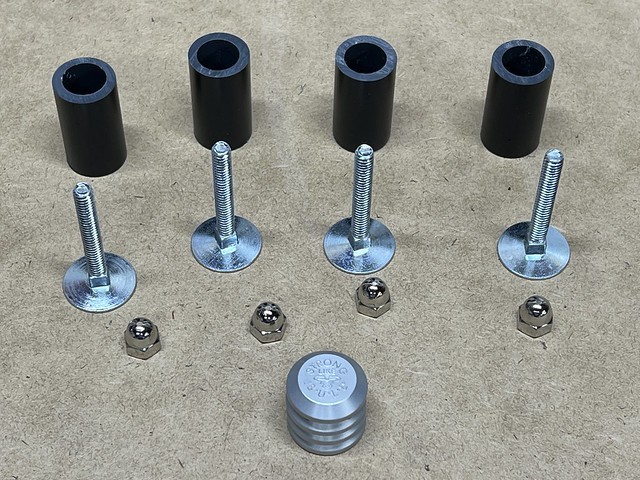
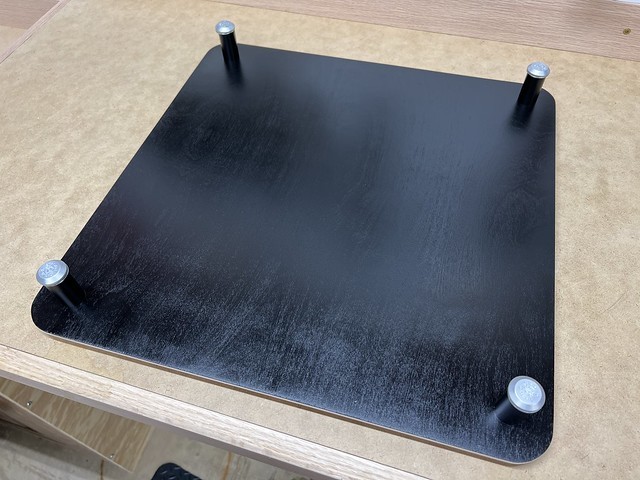
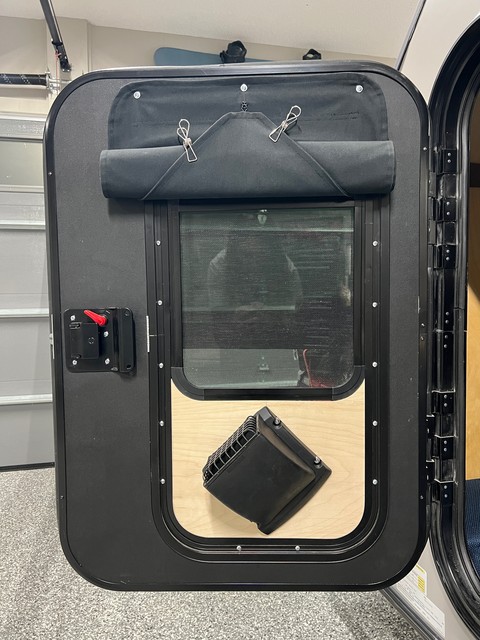
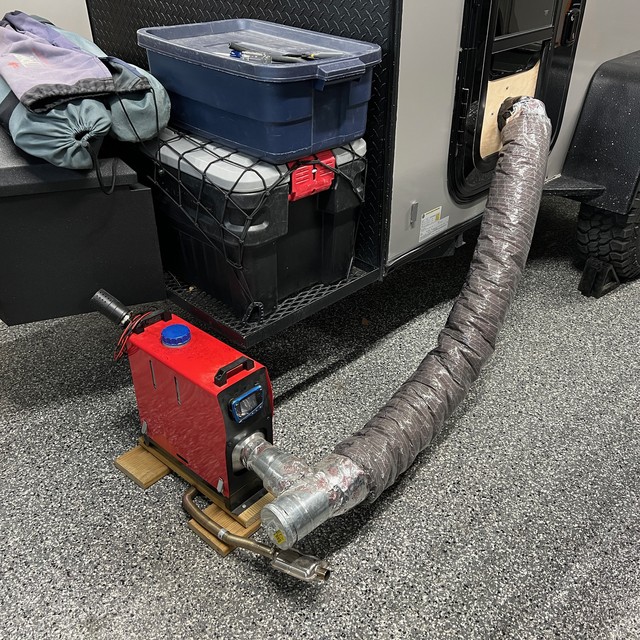
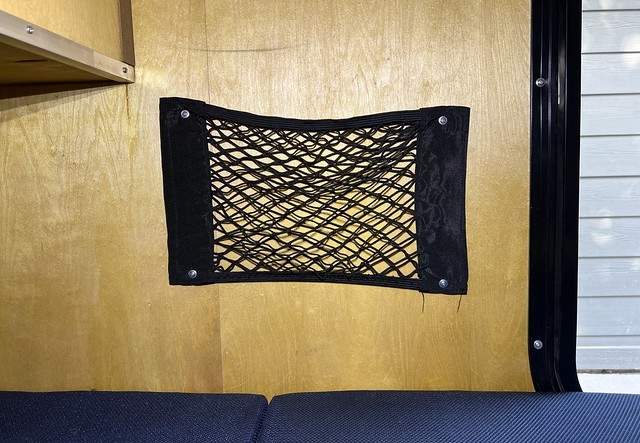
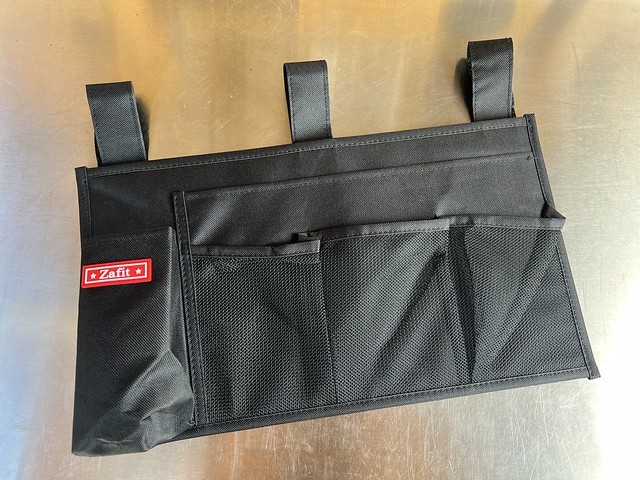
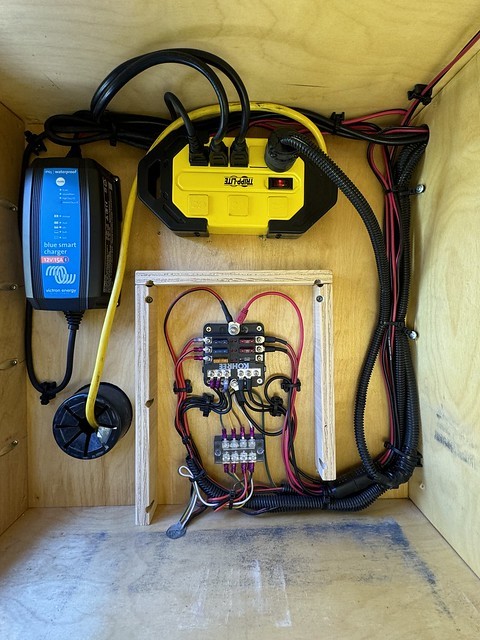
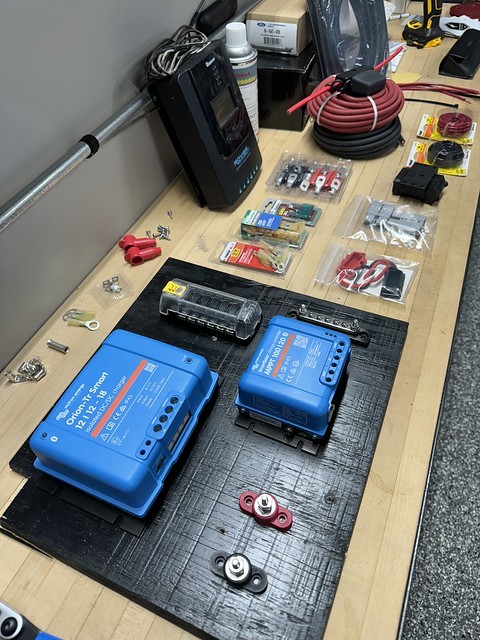
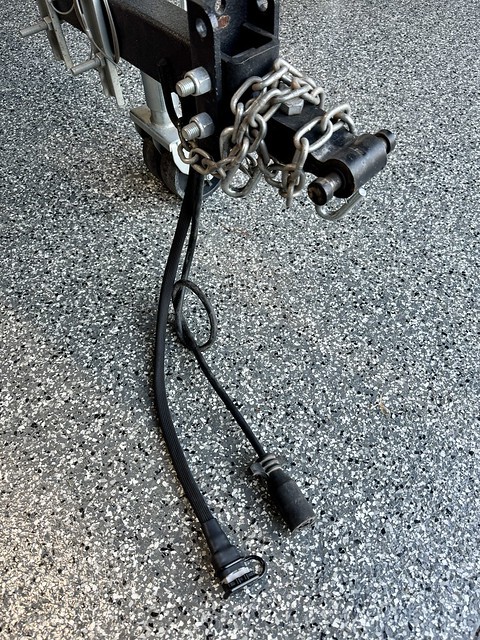
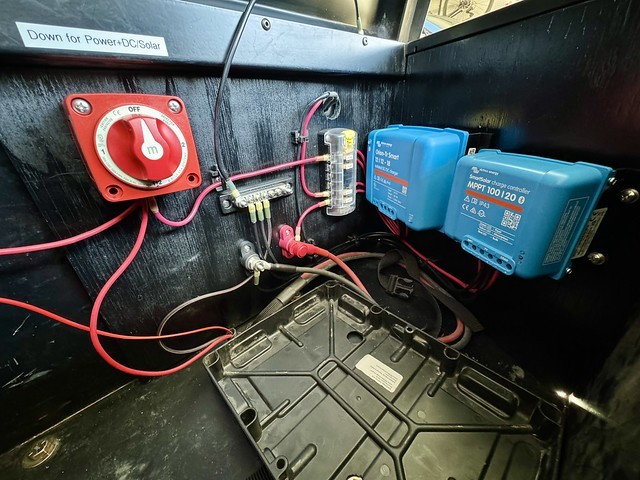
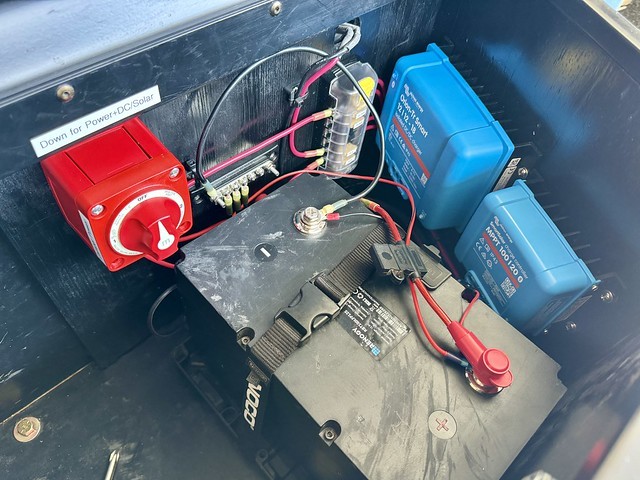
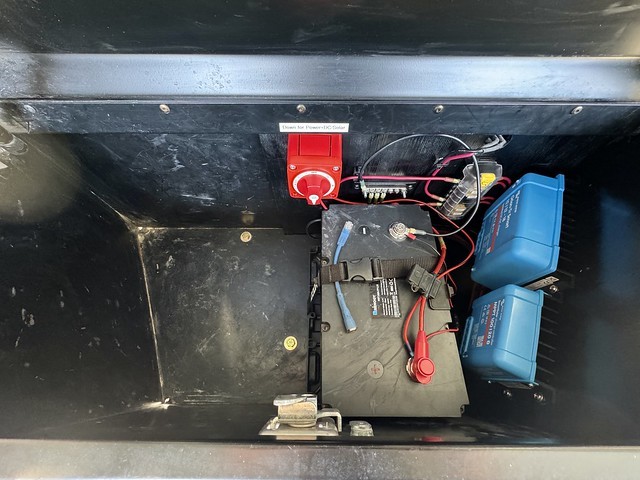
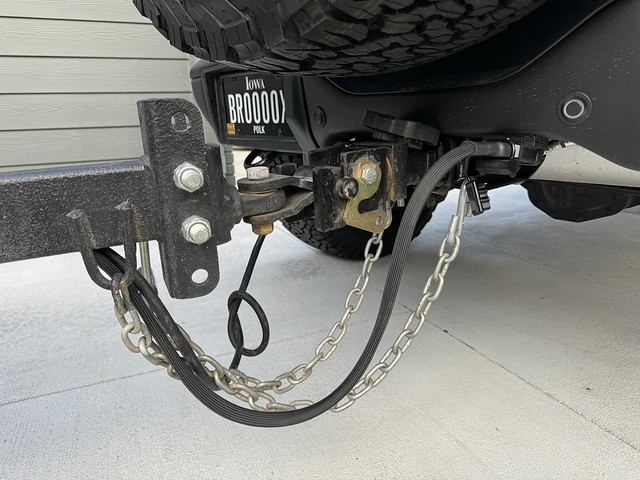
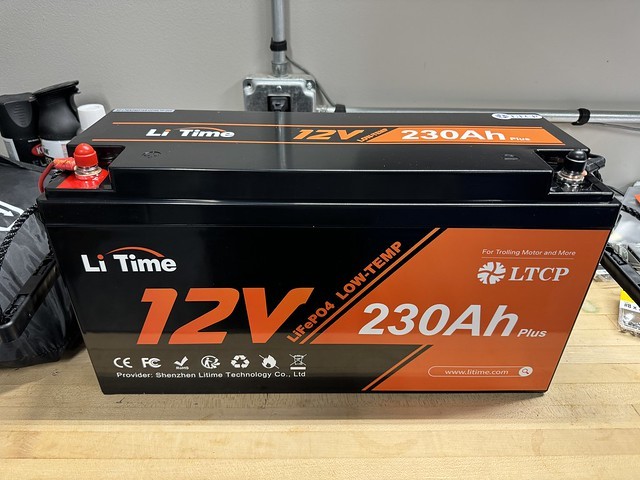
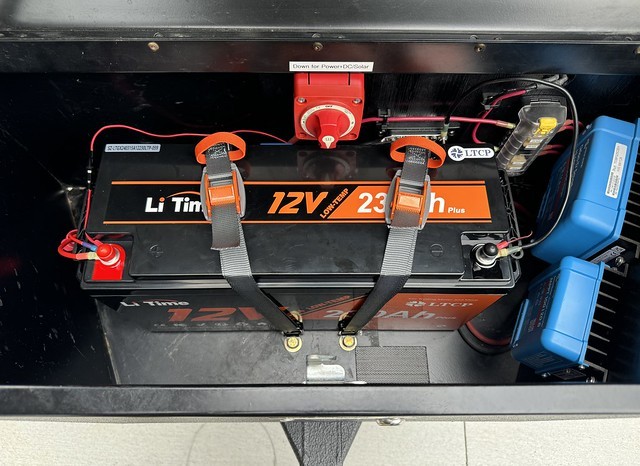
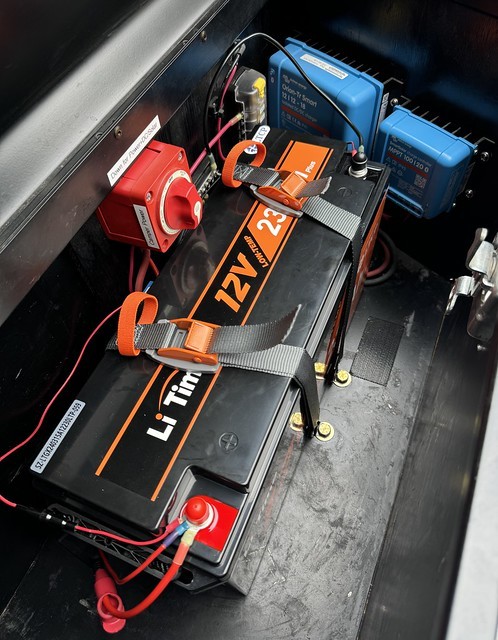
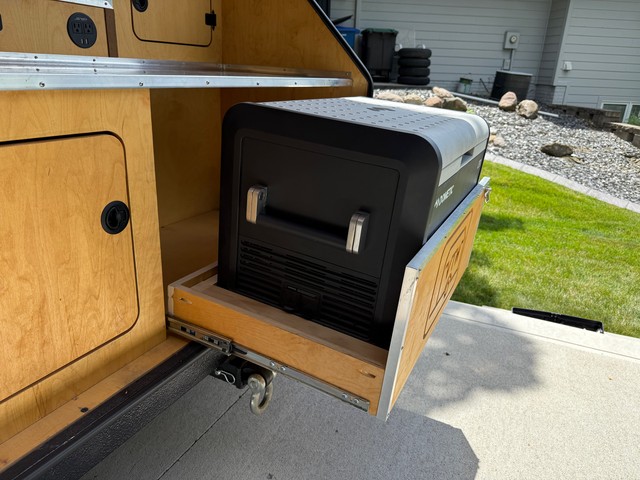
XTR Camper Build
105 photos
in Iowa, Alabama, Kentucky, and Illinois
added
5 years ago
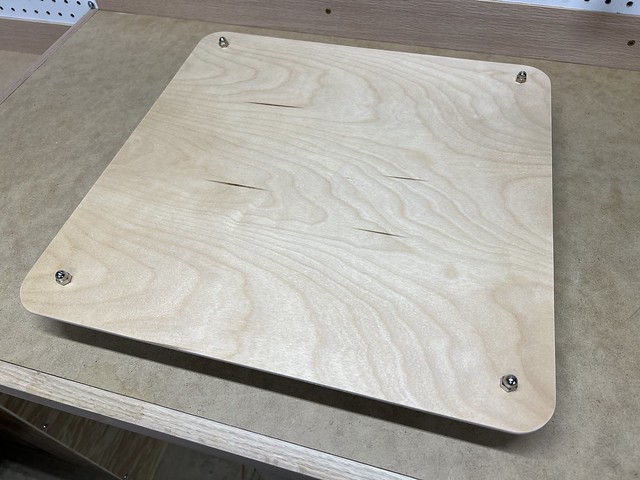
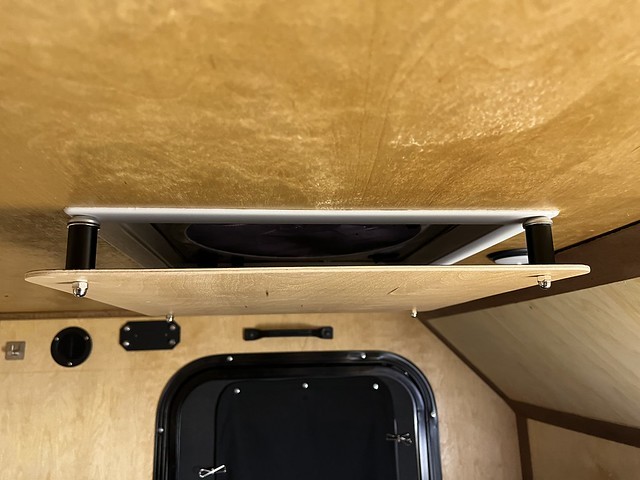
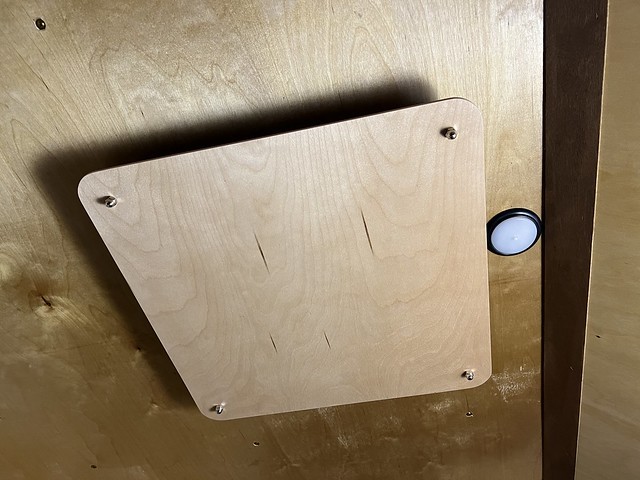
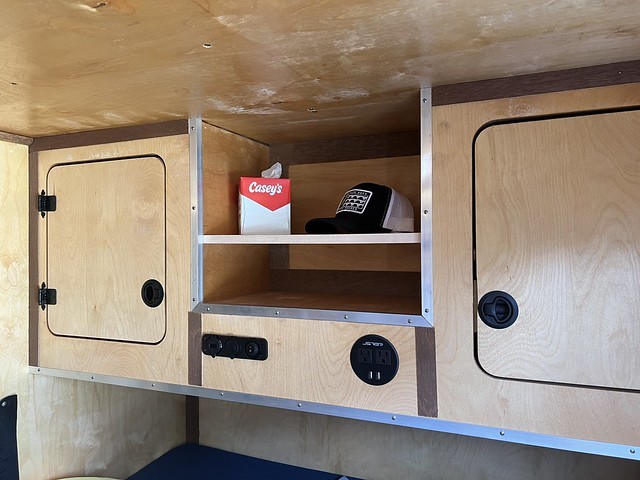
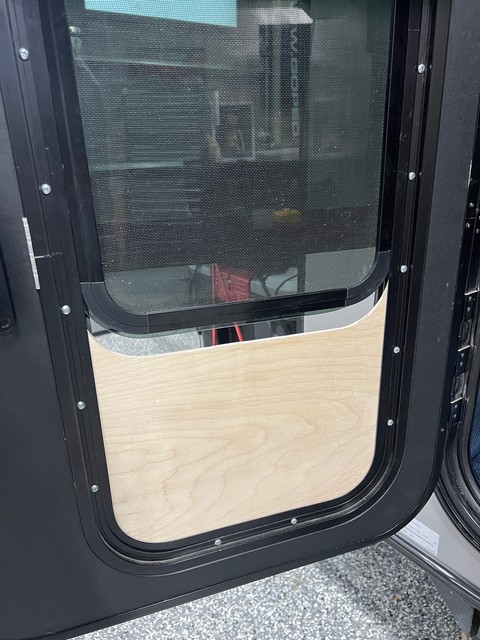
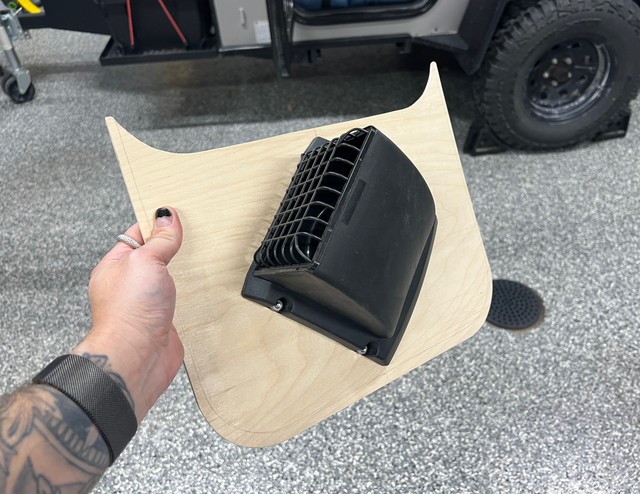
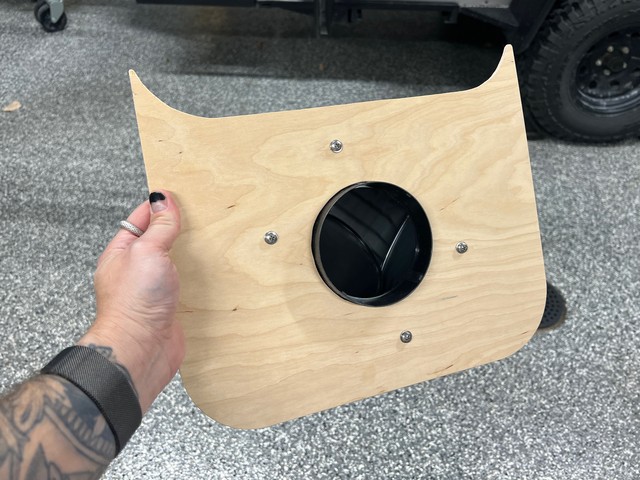
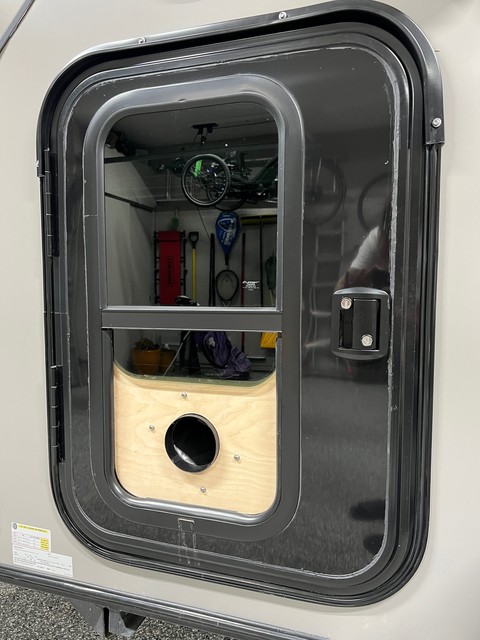
Some photos of my tiny, teardrop style camper built by Vintage Trailer Works (now Venture Overland Campers) with various modifications done by myself.
1
2